But you said you would never own a boat on Superior!
Debra and myself started our sailboat journey in August of 2016 with the Mutineer purchase. Since then we’ve hopped around all over the place, but probably the biggest jump in our resume was when we first boarded Memories Maid in Fall of 2020 for the Northern Breezes delivery from Bayfield to Spirit Lake for Winter layup. While the experience was great and we have participated in repeat deliveries one thing remained constant – Lake Superior will never be the hallowed grounds for my kind of sailing. Getting sunburn while wearing a hoodie to stay warm isn’t my kind of sailing. Sweating in the main saloon because the boat doesn’t have AC for the 9 days a year when it gets hot isn’t my kind of sailing. Alas, we’ve tried some different things to keep sailing and not on Superior, but nothing has really stuck as enjoyable and sustainable. So here we are, trying something new we now have a small keelboat berthed in Washburn Marina near the Apostle Islands in Lake Superior.
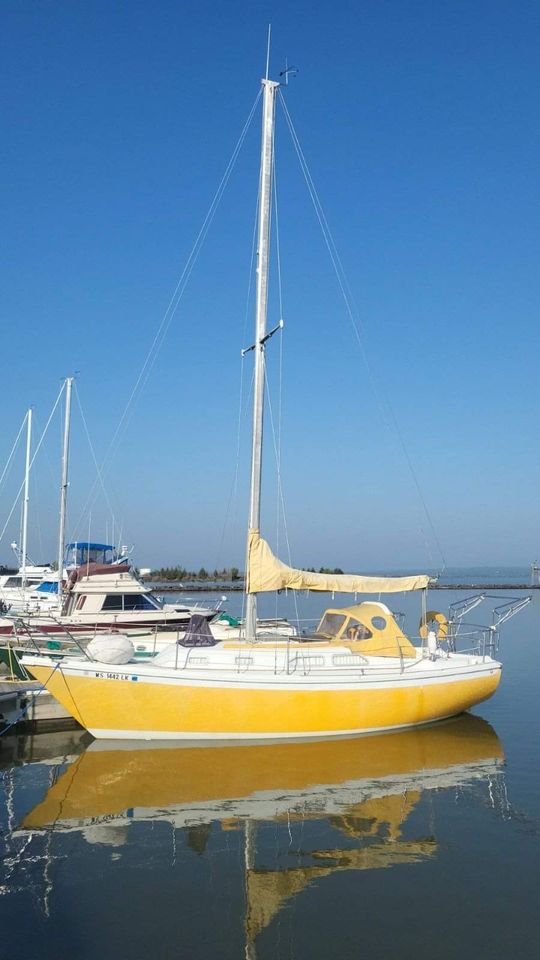
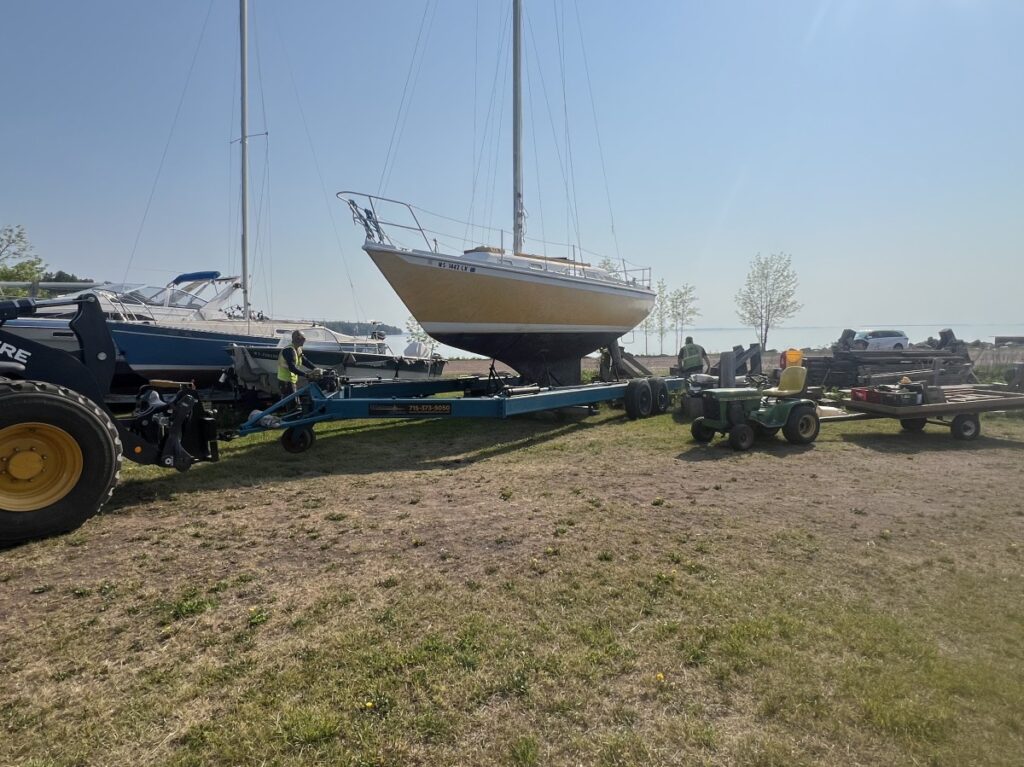
This is LaGustaMor. I may be spelling that incorrectly, but even to go off state records would be folly since state records have the vessel listed as a 1977 Erickson 29 when in fact it’s an Ericson 29. That name is not long for the world, but as of this writing, it’s the name. The picture above is the one that sold us on the boat. It doesn’t show as well in-person as this photo sells it. That said she’s a good boat with solid bones and I’m confident she’ll clean up well. We bought this boat on the hard in Washburn in September of 2024.
Why a 1977 Ericson 29
We’ve sailed all sorts of boats sized 15′ to 50′, mostly “French” boats in the 40′-45′ range and we’ve become comfortable with certain things like big cockpits, hard chines, in-mast furling and power winches. So why buy this antique? Well, it probably mostly comes down to opportunity. In a way the whole thing is an experiment revolving around how to fit sailing more conveniently into mine and Debra’s middle-aged lives’; it has very little to do with the actual boat. Given that it’s an experiment, the potential was in place for a few reasons:
– low financial risk
– good home-base
– Debra fell for the vessel
– some amount of blank canvas opportunities
Fall 24 and Winter 25 – abbreviated
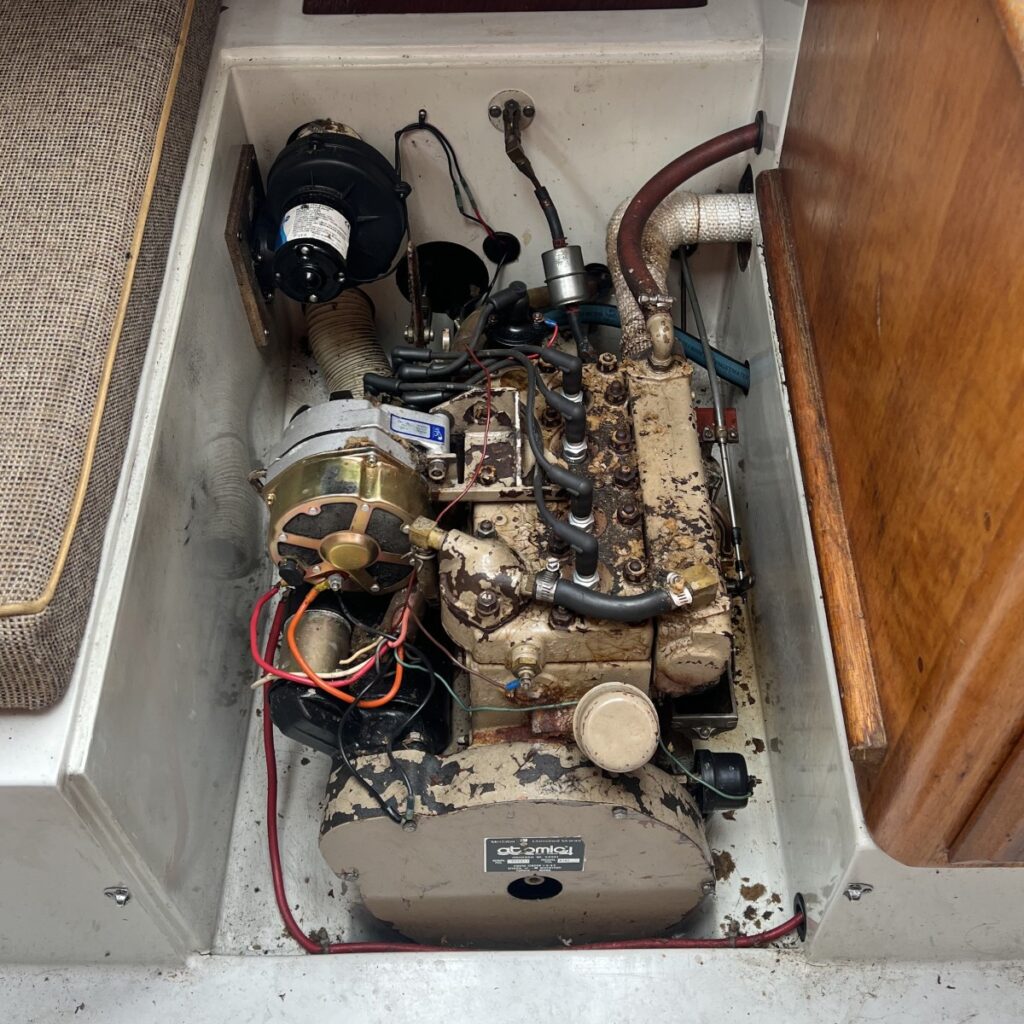
We bought the boat as something of a basket case so preparing for launch 2025 was not fast and not trivial. There really was only 1 problem, but it was a big one. The Atomic 4 engine had a cracked block causing a coolant leak. There were other small issues like 2 bad batteries, non-functional depth sounder and various leaks, but the one that caused it to be laid up for the entire sailing season in 2024 was the engine. Being who I am though, the engine being junk isn’t really a negative factor in the purchase decision as much as it is an opportunity to save some money and make the boat my own. We decided the rest of the boat was solid enough / risk was low enough and went ahead with the purchase.
With a big window of time came some pretty big aspirations for not only fixing the power unit but also some other “minimum viable product” improvements. It didn’t take me a very long time working on the boat though to realize that I wanted the gas and oil out of my sailing life – the plan quickly steered toward an electric repower. The process of outfitting the boat with a 48V electrical system and a 12KW power unit warrants a whole series of separate posts, but for the purposes of this splash post and providing context around the work done over the winter I’ll share the high points.
Out with the old smelly, greasy, nasty and leaking gas engine:
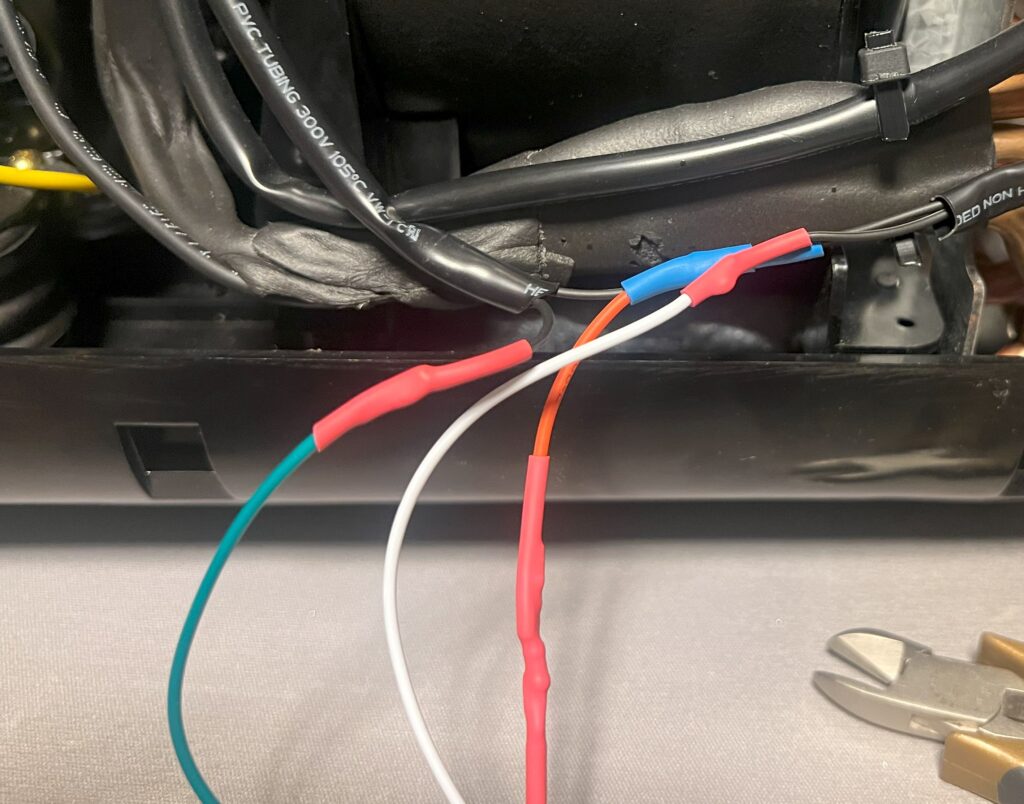
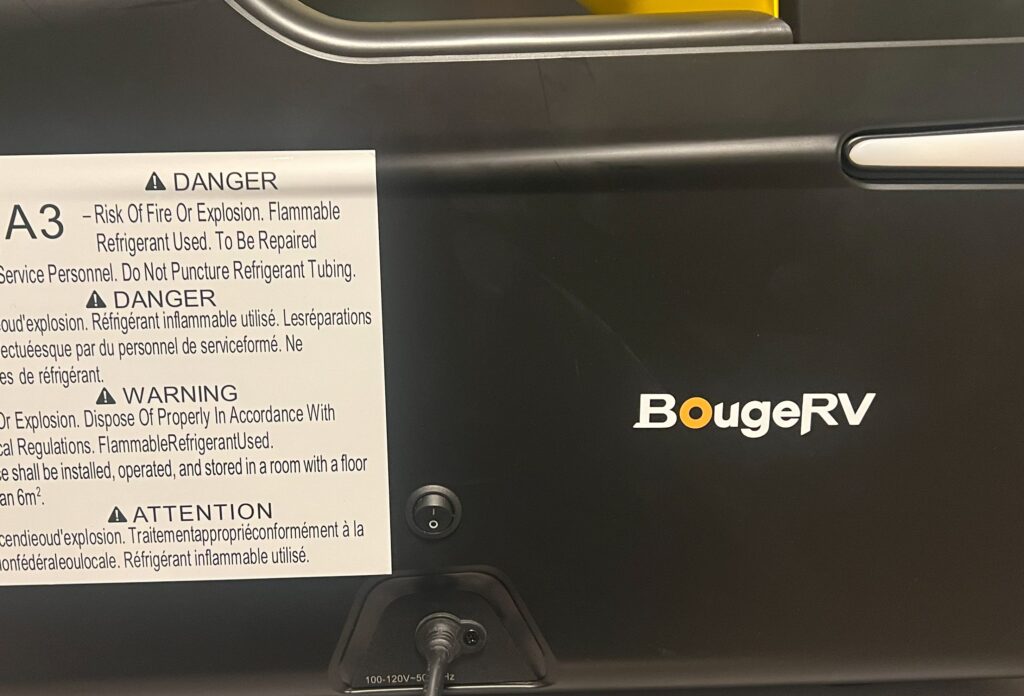
And in with a gas and oil free 12KW electric motor:
Another day I’ll share details about the trials and tribulations of this repower including detailed materials lists, costs, and the like, but for this post I’ll just share that the replacement power is a 12KW 48V liquid cooled motor and Sevcon Gen 4 motor controller provided as a ready to install kit from Thunderstruck Motors. I also used their motor mounting system with gear reduction, however I made some modifications to it in order to fit it into my unmodified engine compartment.
Since Fall of 2024 I’ve made more trips to Washburn Marina than I can count, no joke. Sure, I could look back through my receipts and photos and such and give you a number, but I’m sure it’s been double digits of a 7 hour round trip to and from the boat, from daytrips to extra-long weekends, some alone and some with Joel or Debra to help. At the beginning of each of the last 3 trips prior to launch day I was convinced it would be the last one. It really seemed never-ending. Finally, after my trip on the weekend of May 23rd, 2025, I was able to contact the marina and ask them to schedule my launch.
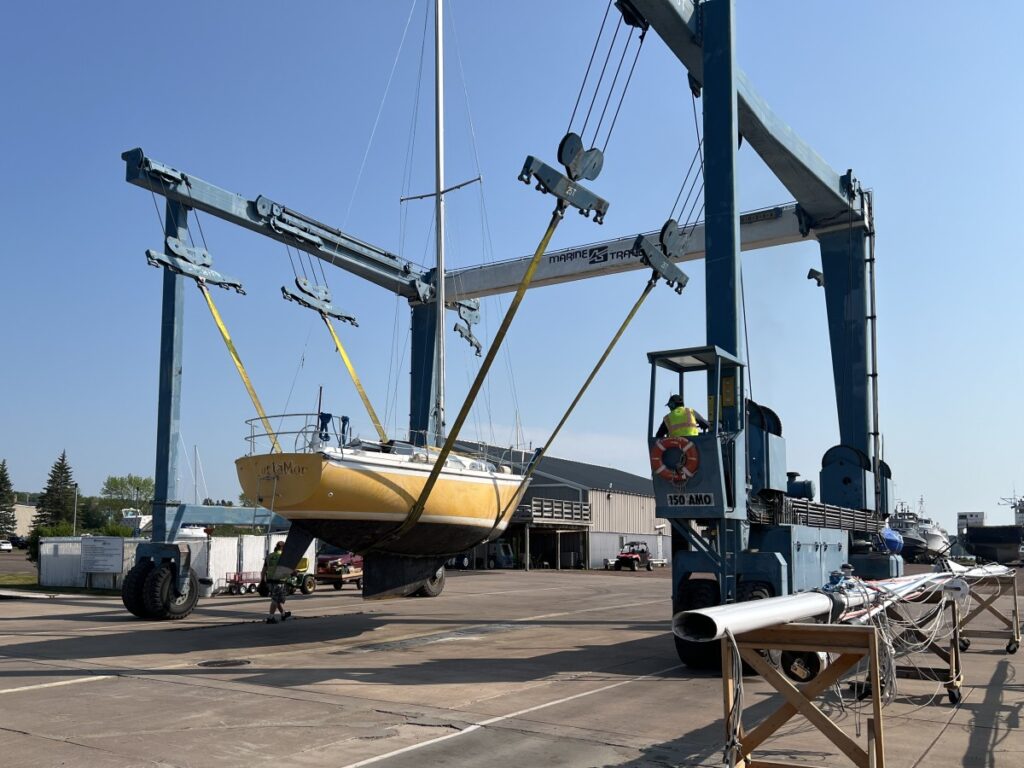
Launch day – June 5, 2025
I arrived at the marina the night before. Sure, I said the boat was ready to launch but really it wasn’t. I had some very minor finishing touches to address. I wanted to investigate some potentially plugged hoses going into thru-hulls below the waterline and also had yet to install the new transducer. That was all fairly straightforward and quickly finished then I slept on the boat on land one last night.
It was sad that nobody was with me to enjoy the rewards of a winter’s hard work, but only I have that kind of flexibility in my schedule it seems. I went to the ship store to ask if I had time to leave for breakfast and buy a fender (one of the ones that came with the boat had blown out) and they said “not a chance, you’ll be in the water within an hour”. That was probably a bit optimistic, but even still things did happen pretty fast. The intent was to record the whole thing with the drone, but I sensed they weren’t wanting me to be tied up with flying a drone while they’re trying to get boats in the water. I did get some fun launch photos and videos though:
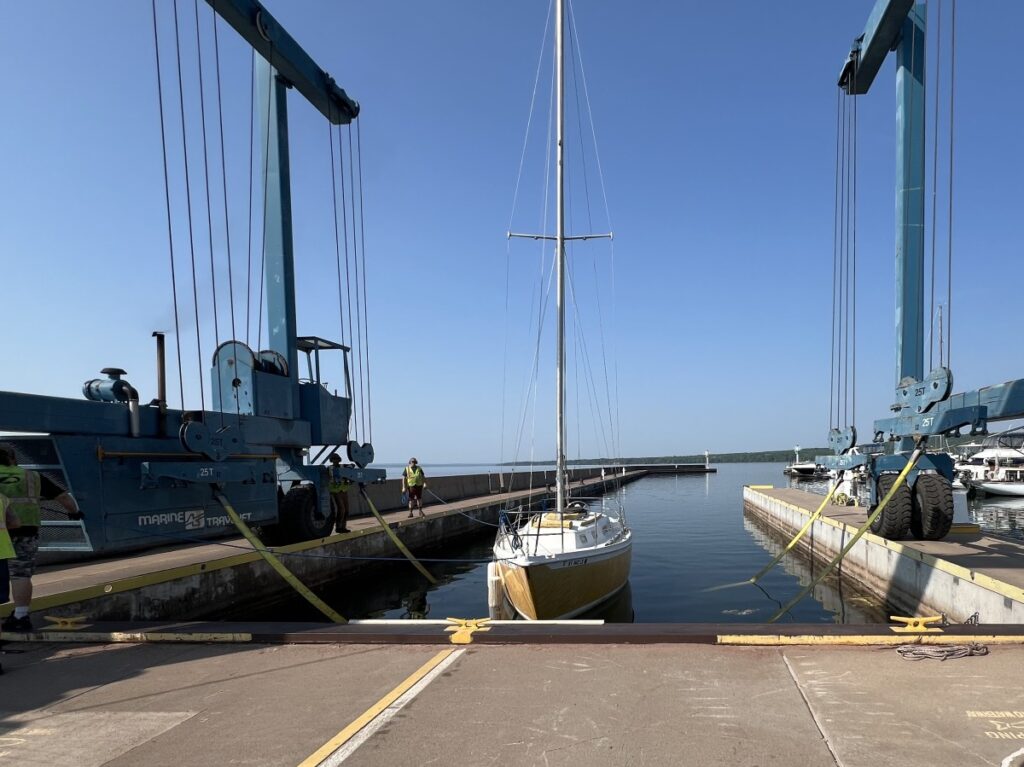
Floating for the first time under our ownership – no leaks
Reflection
Being alone I did have to meander it from the seawall over to the slip single-handed. Great, first time operating the silly thing, first time tying up in this marina with any boat, first time with the electric motor and I’m on my own, what could go wrong? Luckily there was no wind, super chill float over and the boat has nice steerage at super low speeds so that’s a total win. No drama tie up.
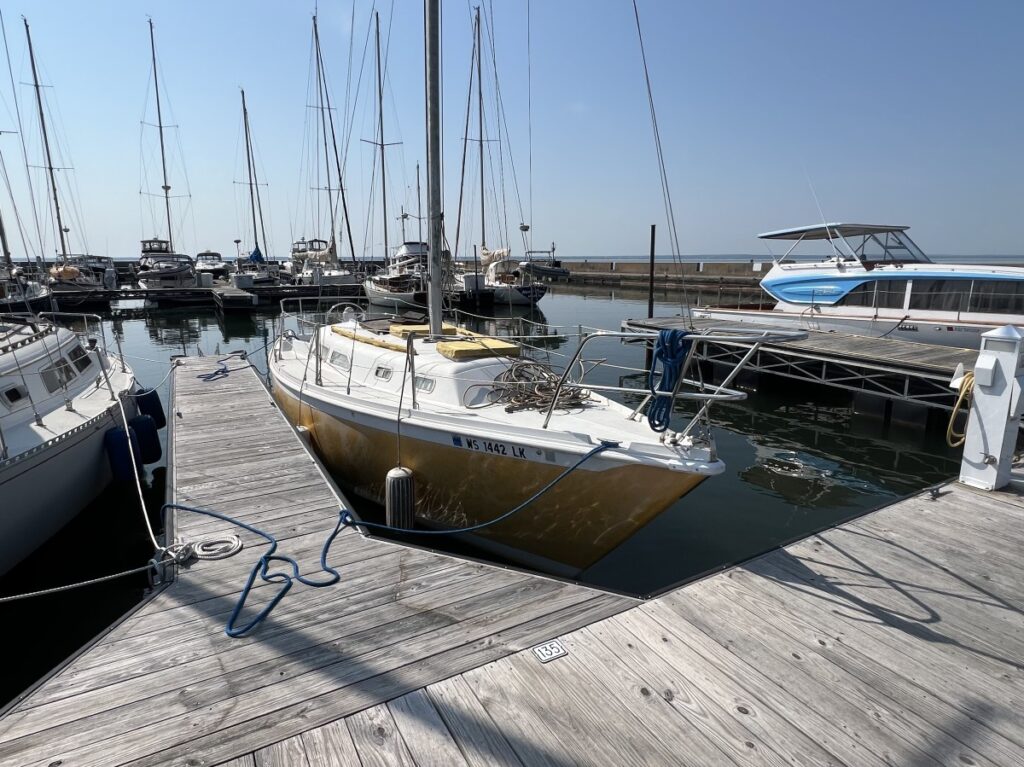
All things considered launch day went great. Battery tests were great, motor tests were very acceptable, and the boat didn’t leak and didn’t sink, at least not before I left it and came home.
I took a bunch more launch photos and videos than what I shared – all of them can be found at this Google gallery.
In the coming weeks I’ll work backwards through the details of the work that was done over the winter and put together some comprehensive write-ups. For now, I’m going to take a break from this thing and enjoy some summer free time.